Did you know how to: Use categories and tagging
29th Mar 2017 | Tasha G

You've created your fabulous Tiki-Toki timeline, but boy, does it have a lot of content. Perhaps a rather overwhelming amount of content... What can you do to make it more accessible for your readers? You can use categories and tagging to help organise it all, of course!
So what's the difference between categories and tagging? Tagging is just what you would expect: you add tags (keywords) to stories so readers can view and filter the stories by the tags. Categories are rather more specialised in Tiki-Toki - they can be used to alter the appearance of your timeline quite dramatically, as well as organise it.
Let's start off with categories. First of all, a story can only have one category. This is because of the ways you can use categories to change the appearance of the timeline - it simply wouldn't work if a story had multiple categories. Categories will be assigned a colour, which can be shown on a story to provide a simple visual cue about its topic (either as a tab at the top of the story, or a coloured box surrounding the story). Alternatively, you can also use categories to create the category band view - you can read all about it and see an example on this blog post.
How do you set up categories? Open your timeline for editing and go to the 'Categories' tab. Click on 'Create new category', and enter the name and choose a colour. If you'd like to use the category band view, you will need to enter further information (see the blog post referenced above for details). Be sure to click save! Now that you have a category (or a few!), you can add it to your stories. Go to your 'Stories' tab and choose a story for editing. You'll see a 'Category' field under the 'Basic info' section. Simply choose the right category, and save.
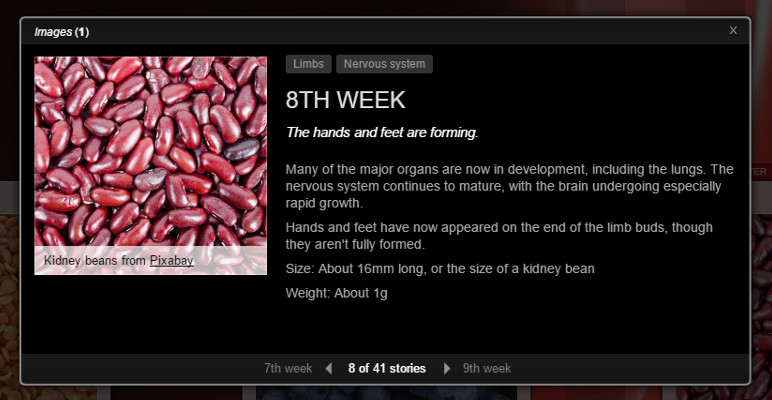
Now what about tagging? As mentioned above, you can assign multiple tags to a story. To create a tag, open a story for editing (any story will do) and go to the 'Tags' tab. Click on the 'Create tag' button, enter your text in the pop-up panel and click 'Create tag'. Once you've created your tag(s), close the pop-up panel, and then select the appropriate tag from the filled in drop-down menu. As always, be sure to click save - you will need to click save between each added tag. If you have the story panel open on your timeline, you will see the tag(s) appear at the top of the story. Now if you click on one of the tags, every story with that tag will be highlighted on the timeline. Pretty nifty, huh?
In addition to the Category Band blog post linked to above, we have a blog post about different views, and about managing clutter on your timeline, both of which might be helpful.
If you have any questions about categories or tagging, get in touch with us at blog@tiki-toki.com.
Thanks for reading!