Did you know how to: Set up and use viewer controls
18th Jan 2013 | Tasha G
It's a new year, and now's the time to get started on those New Year resolutions! Perhaps a few of you made a resolution to work on your timeline. Today's topic just might come in handy, as it's all about making it easier for your timeline's viewers.
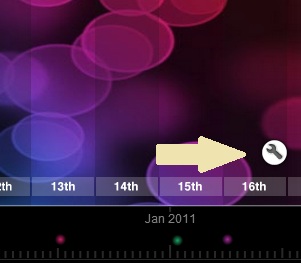
You may have noticed a little spanner (or wrench, for our American friends) in the bottom right of some timelines. That, dear readers, is the viewer control panel. If you click on it, it expands out to provide options on how to display the timeline.
From that panel, viewers can do a variety of things, including searching, filtering the categories, and changing the default view. This gives your viewers a great deal of flexibility and control without impacting on others' experiences, as any changes only apply to that one viewer.
The December 2012 timeline of the month (see below) is a great example of a timeline where the viewer controls are incredibly useful.
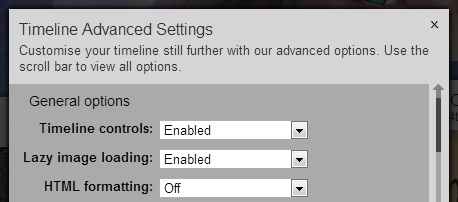
Now, it is important to note that the timeline creator must enable it for it to appear, as it is turned off by default. To turn it on, log in to Tiki-Toki and open the timeline for editing.
In the grey admin panel, go to the 'Settings' tab and then click on 'Advanced settings'. It's the very first option that appears in the pop-up and is called 'Timeline controls'. Just change the drop-down menu to 'Enabled' and click save at the bottom of the pop-up.
Well, my resolution this year was to keep adding content and useful info to the blog, so if you've got anything you'd like covered here, get in touch with us at blog@tiki-toki.com.
Thanks for reading!